Flash an Acadia
Sometimes the system on the Acadia might break down and it is impossible for user to reach the system in the Acadia. The best way to solve this problem is obviously flashing a new system into the Acadia.
According to the Tutorial on Flashing LinkSprite Acadia written by the producer of Acadia, there are two methods to rescue broken system on Acadia.
Note
This article is focused on Acadia, if you are trying to flash another version of pcDuino, please find information on learn.linksprite.com
How to flash
- Download the relevant files Mfgtools-Rel-4.1.0_Acadia_MX6Q_UPDATER.zip(remember to choose the Release version using Mfgtools).
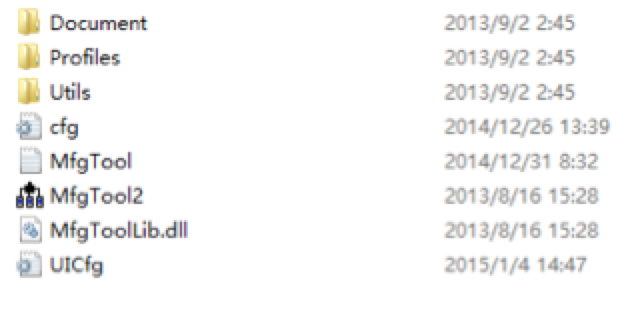
- After extract all files, the directory is shown as below:
- Now if you want to flash the system into the eMMC on Acadia, change the [LIST]->name of cfg.ini like this:
name=Acadia-eMMC
And if you want to flash the system into the SD card,just change the content as
name=Acadia-SD1, which represents the SD slot in the front of Acadia.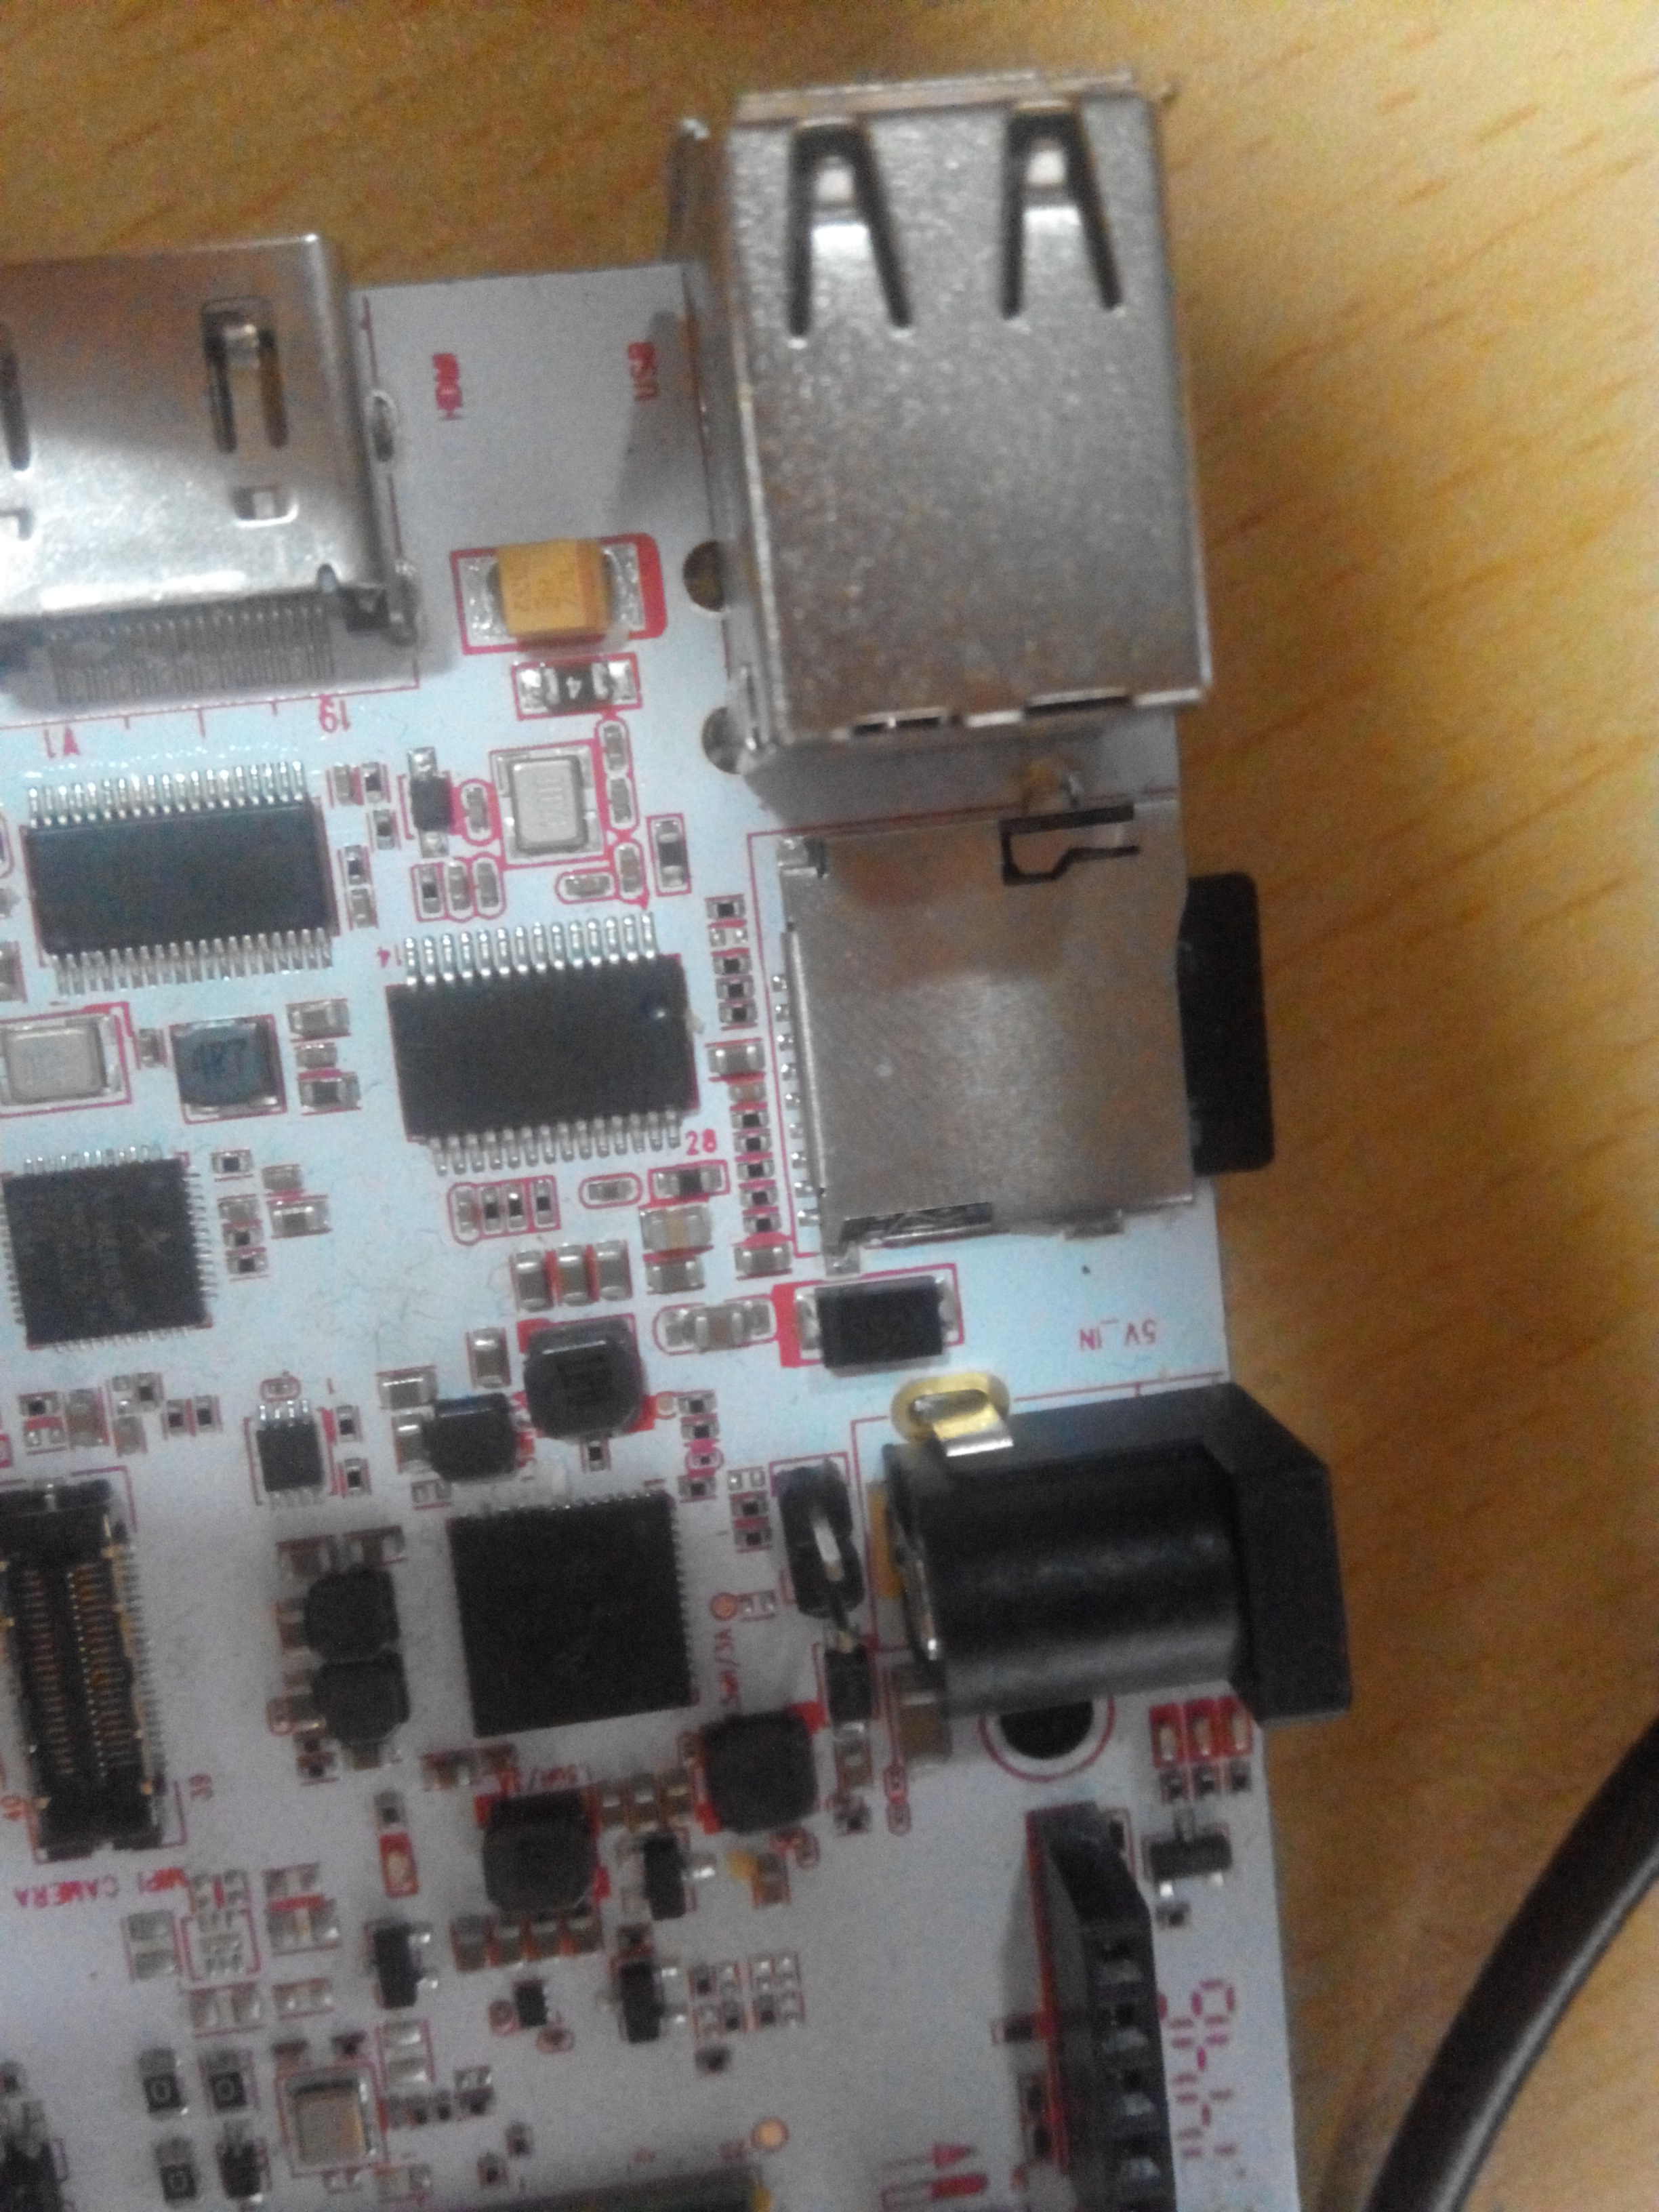
name=Acadia-SD2, which represents the SD slot in the back of Acadia.
Remember to restart the Mfgtools after you change the ini file. - Now launch the Mfgtools, and connect the Acadia with your PC using its OTG USB port.
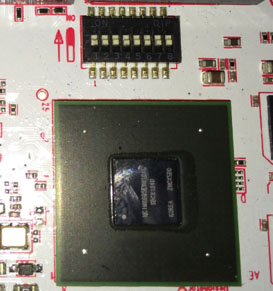
- Make sure the boot switches are all in OFF position.
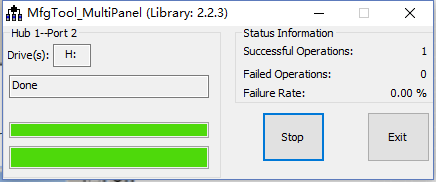
- Now click Start in Mfgtools and wait until it finishes.
Start Acadia
After flashing, the Acadia can start from eMMC, SD1 or SD2. It depends on the boot switches.
| Start From | S1 | S2 | S3 | S4 | S5 | S6 | S7 | S8 |
|---|---|---|---|---|---|---|---|---|
| eMMC | ON | ON | Off | ON | Off | ON | ON | Off |
| SD1 | Off | ON | Off | Off | Off | Off | ON | Off |
| SD2 | ON | Off | Off | Off | Off | Off | ON | Off |